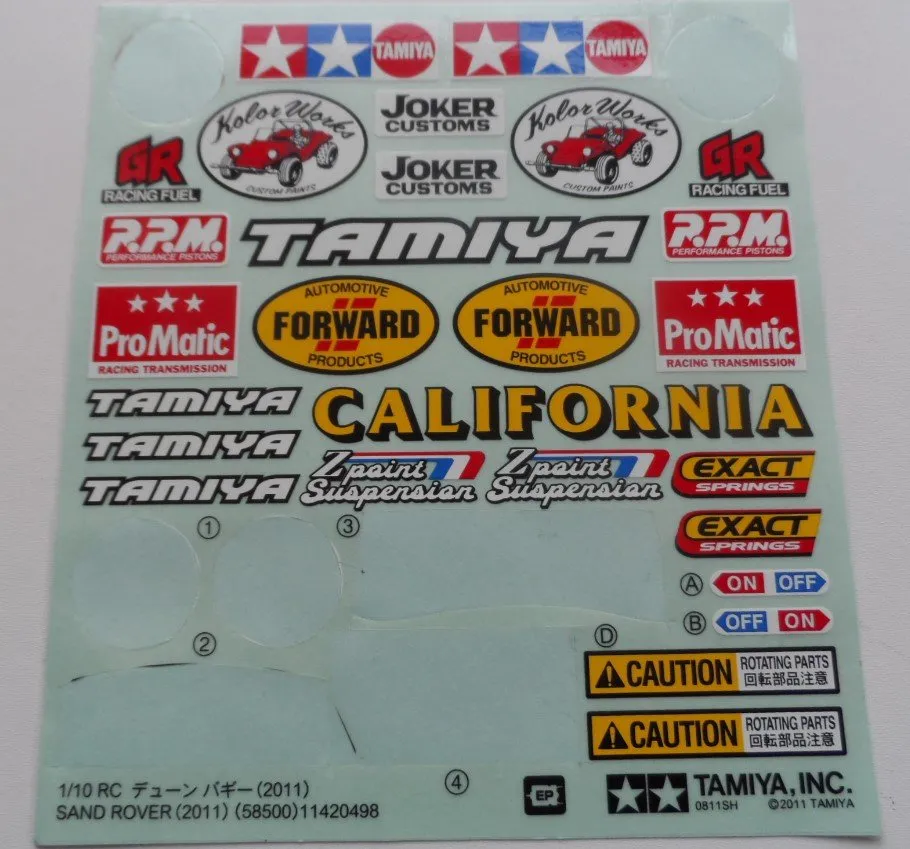
Tamiya decals are a popular choice among model builders and hobbyists because of their high-quality and wide variety of designs. These decals can be used to add intricate details and realistic features to your models, such as logos, stripes, and other graphics. However, applying Tamiya decals can be a tricky process for beginners, so in this blog post we’ll walk you through the process step-by-step to help you achieve professional-looking results.
Before we begin, it’s important to note that Tamiya decals are designed to be used with Tamiya paint, as the paint has a special adhesive that helps the decals adhere to the surface of the model. It’s also important to have all the necessary tools, including decal setting solution, a decal brush, tweezers, and a hobby knife.
Step 1: Preparing the Model
The first step in applying Tamiya decals is to prepare the model. This includes cleaning the surface of the model, removing any dust or debris, and ensuring that the surface is smooth and free of any bumps or imperfections. It’s also important to make sure that the surface of the model is dry and free of any oil or grease.
Step 2: Cutting out the Decals
The next step is to carefully cut out the decals you plan to use. Tamiya decals typically come on a clear carrier sheet, so use your hobby knife or a pair of scissors to carefully cut out the decals. Be sure to leave a small border of clear carrier around each decal, as this will help you handle the decals more easily during the next step.
Step 3: Soaking the Decals
Once you’ve cut out the decals, it’s time to soak them in warm water for about 30 seconds to a minute. This will help to release the decals from the carrier sheet and make them more pliable. Use your tweezers or a decal brush to carefully place the decals in the water. Be sure to keep the decals in the water for no more than a minute, as leaving them in too long can cause them to lose their adhesive.
Step 4: Positioning the Decals
After the decals have been soaked, use your tweezers to carefully remove them from the water and position them on the surface of the model. Be sure to place the decals in the desired location before they begin to dry, as moving them once they’ve started to dry can cause them to wrinkle or lose their adhesive.
Step 5: Applying the Decal Solution
Once you’ve positioned the decals, it’s time to apply the decal solution. This is a special solution that helps to soften the decals and allow them to conform to the surface of the model. Tamiya produces its own decal solution, but if you don’t have it you can use Micro Sol or Micro Set.
Use your decal brush to carefully apply the solution to the decals. Be sure to only apply a small amount at a time, and use the brush to gently work the solution into the decals. You’ll notice that the decals will start to soften and conform to the surface of the model.
Step 6: Drying the Decals
After you’ve applied the decal solution, it’s important to allow the decals to dry completely. This can take anywhere from a few minutes to a few hours, depending on the size of the decals and the humidity of the environment. Once the decals are dry, you can use your hobby knife or a toothpick to carefully trim away any excess carrier film.
Step 7: Applying the Clear Coat
The final step in applying Tamiya decals is to apply a clear coat to the model. This is an important step as it helps to protect the decals and ensure that they stay in place. You can use a clear lacquer or a clear acrylic paint for this step.
It’s important to use a light touch when applying the clear coat, as too much pressure can cause the decals to wrinkle or lose their adhesive. Use a small brush or airbrush to apply the clear coat, and be sure to cover the entire model evenly. Allow the clear coat to dry completely before handling the model.
Tips and Tricks
Here are a few tips and tricks that can help make the decal application process go more smoothly:
- Practice on a scrap piece of plastic or card before applying the decals to your model. This will help you get a feel for the decal application process and prevent mistakes.
- Use a decal setting solution to help the decals conform to curved or irregular surfaces.
- Be careful when handling the model after the decals have been applied. The decals are delicate and can easily be damaged if not handled properly.
- If the decals are not adhering properly, you can apply a small amount of decal solution to the back of the decal to help them adhere to the surface of the model.
In conclusion, applying Tamiya decals can seem like a daunting task for beginners, but with a little patience and practice, it can be a rewarding and enjoyable experience. With these tips and tricks, you’ll be able to achieve professional-looking results and add detailed, realistic features to your models. With this comprehensive guide you’ll be ready to take your models to the next level and stand out. Remember that is always better to apply decals with a dry and clean surface, with the right decal solution and to let them dry before handling the model.

